Building a custom pool in Fort Worth, Texas, is a major project that demands detailed planning, expert coordination, and site-specific adaptation. Homeowners in this region face unique considerations including soil type, slope, sun exposure, and community restrictions. This step-by-step breakdown explains the full installation process from initial design to the final swim-ready product, with specific relevance to Fort Worth and surrounding communities such as Aledo, Weatherford, Southlake, Keller, and Mansfield.
1. Site Evaluation and Planning
Every pool project begins with a thorough site evaluation. Fort Worth is known for its clay-rich soil, which expands and contracts with moisture changes. Because of this, assessing ground stability early on is critical. A good contractor will inspect the yard layout, drainage, and grading to determine the best location and orientation for the pool.
This step also includes a discussion of your goals and vision. Whether you’re looking for a geometric pool with sleek lines or a natural lagoon-style shape with boulders and waterfalls, it all starts here. Budget, features, and anticipated timeline are also covered during the initial consultation.
2. Custom Pool Design
Once the site has been assessed, the pool designer drafts a custom plan. This typically includes:
-
Pool shape, size, and depth
-
Placement of benches, tanning ledges, and spas
-
Water feature locations
-
Material choices such as tile, coping, decking, and interior finish
-
Equipment location and utility access
In Fort Worth, where summers can be intense, many homeowners opt for shaded seating areas, light-colored pool surfaces, and smart automation systems to manage temperature and lighting efficiently.
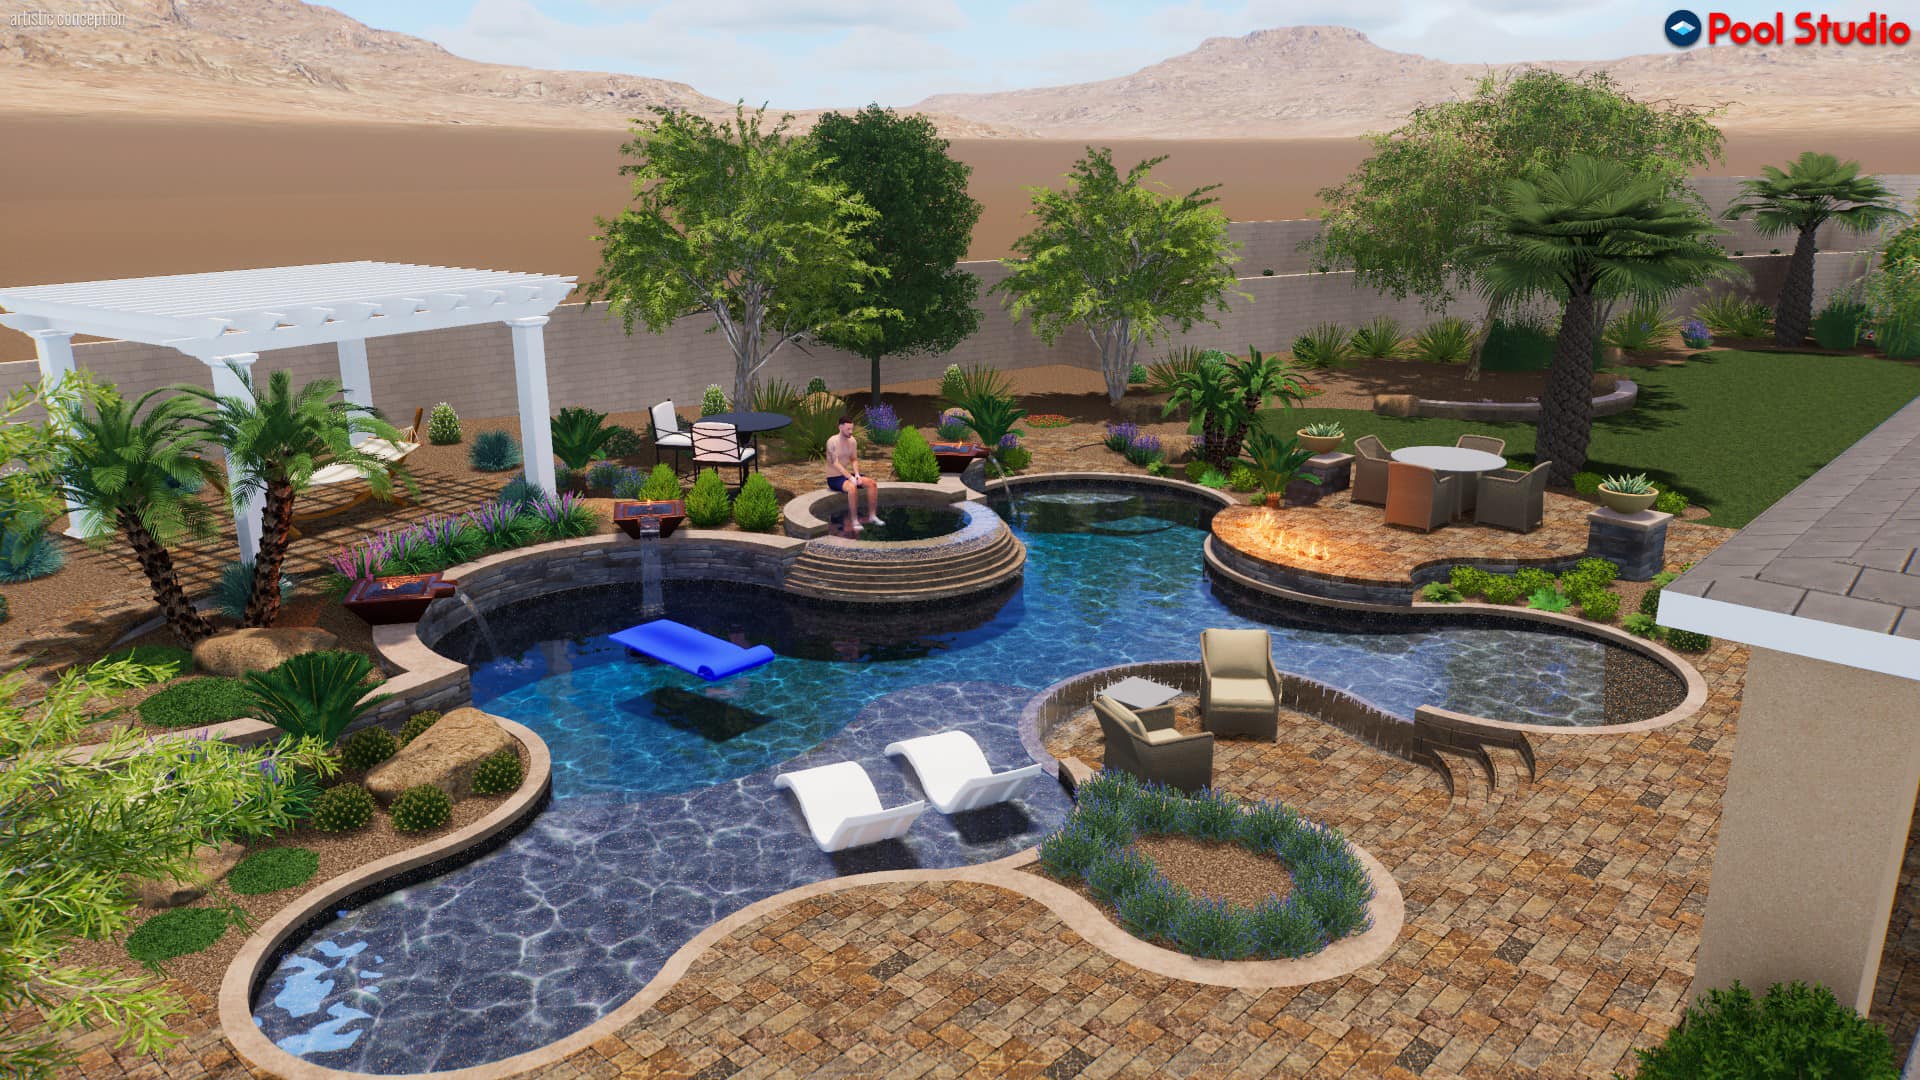
Designs are typically shown in both 2D and 3D renderings to help the homeowner visualize the space. You will have the opportunity to adjust details before finalizing the plan.

3. Structural Engineering
Once the design is approved, it goes to a licensed structural engineer. This is particularly important in Fort Worth due to unstable soil conditions. Engineers determine:
-
The type and placement of steel rebar for reinforcement
-
Whether piers or grade beams are needed
-
Load capacities for attached features like spas or retaining walls
Most premium builders in the area use steel cages and elevated beam systems to add long-term structural strength to pools built on shifting ground. This step helps prevent cracking and uneven settling over time.
4. Permitting and Regulatory Approval
Your pool contractor will handle all permit applications. In Fort Worth, this includes:
-
Building permits through the Development Services Department
-
Plumbing, electrical, and gas permits
-
Irrigation system disconnect or re-routing (if applicable)
If you live in a managed community, HOA approval will also be required. Some neighborhoods in Tarrant and Parker Counties have strict design guidelines and setback rules, so expect an additional review period. Contractors familiar with the region will navigate both city regulations and neighborhood covenants efficiently.
5. Pre-Construction Setup
Before breaking ground, the contractor finalizes logistics:
-
Scheduling delivery of materials and equipment
-
Marking utility lines for safety
-
Coordinating excavation crews and demolition (if replacing an old pool or patio)
If the yard is fenced, sections may need to be temporarily removed to allow machinery access. In tight-lot neighborhoods like those near TCU or Arlington Heights, smaller equipment may be used to minimize disruption. Erosion control measures, such as silt fencing, are also installed at this stage.

6. Excavation
With plans and permits approved, excavation begins. This is the process of digging the pool hole to match the shape and depth of the design.
The soil is either hauled away or stored on-site to be reused for grading and backfilling later. In Fort Worth, this phase usually involves navigating compacted clay and sometimes rocky layers, depending on your elevation.
The excavation phase typically takes one to three days, depending on the size of the pool and ease of access.
7. Steel Reinforcement
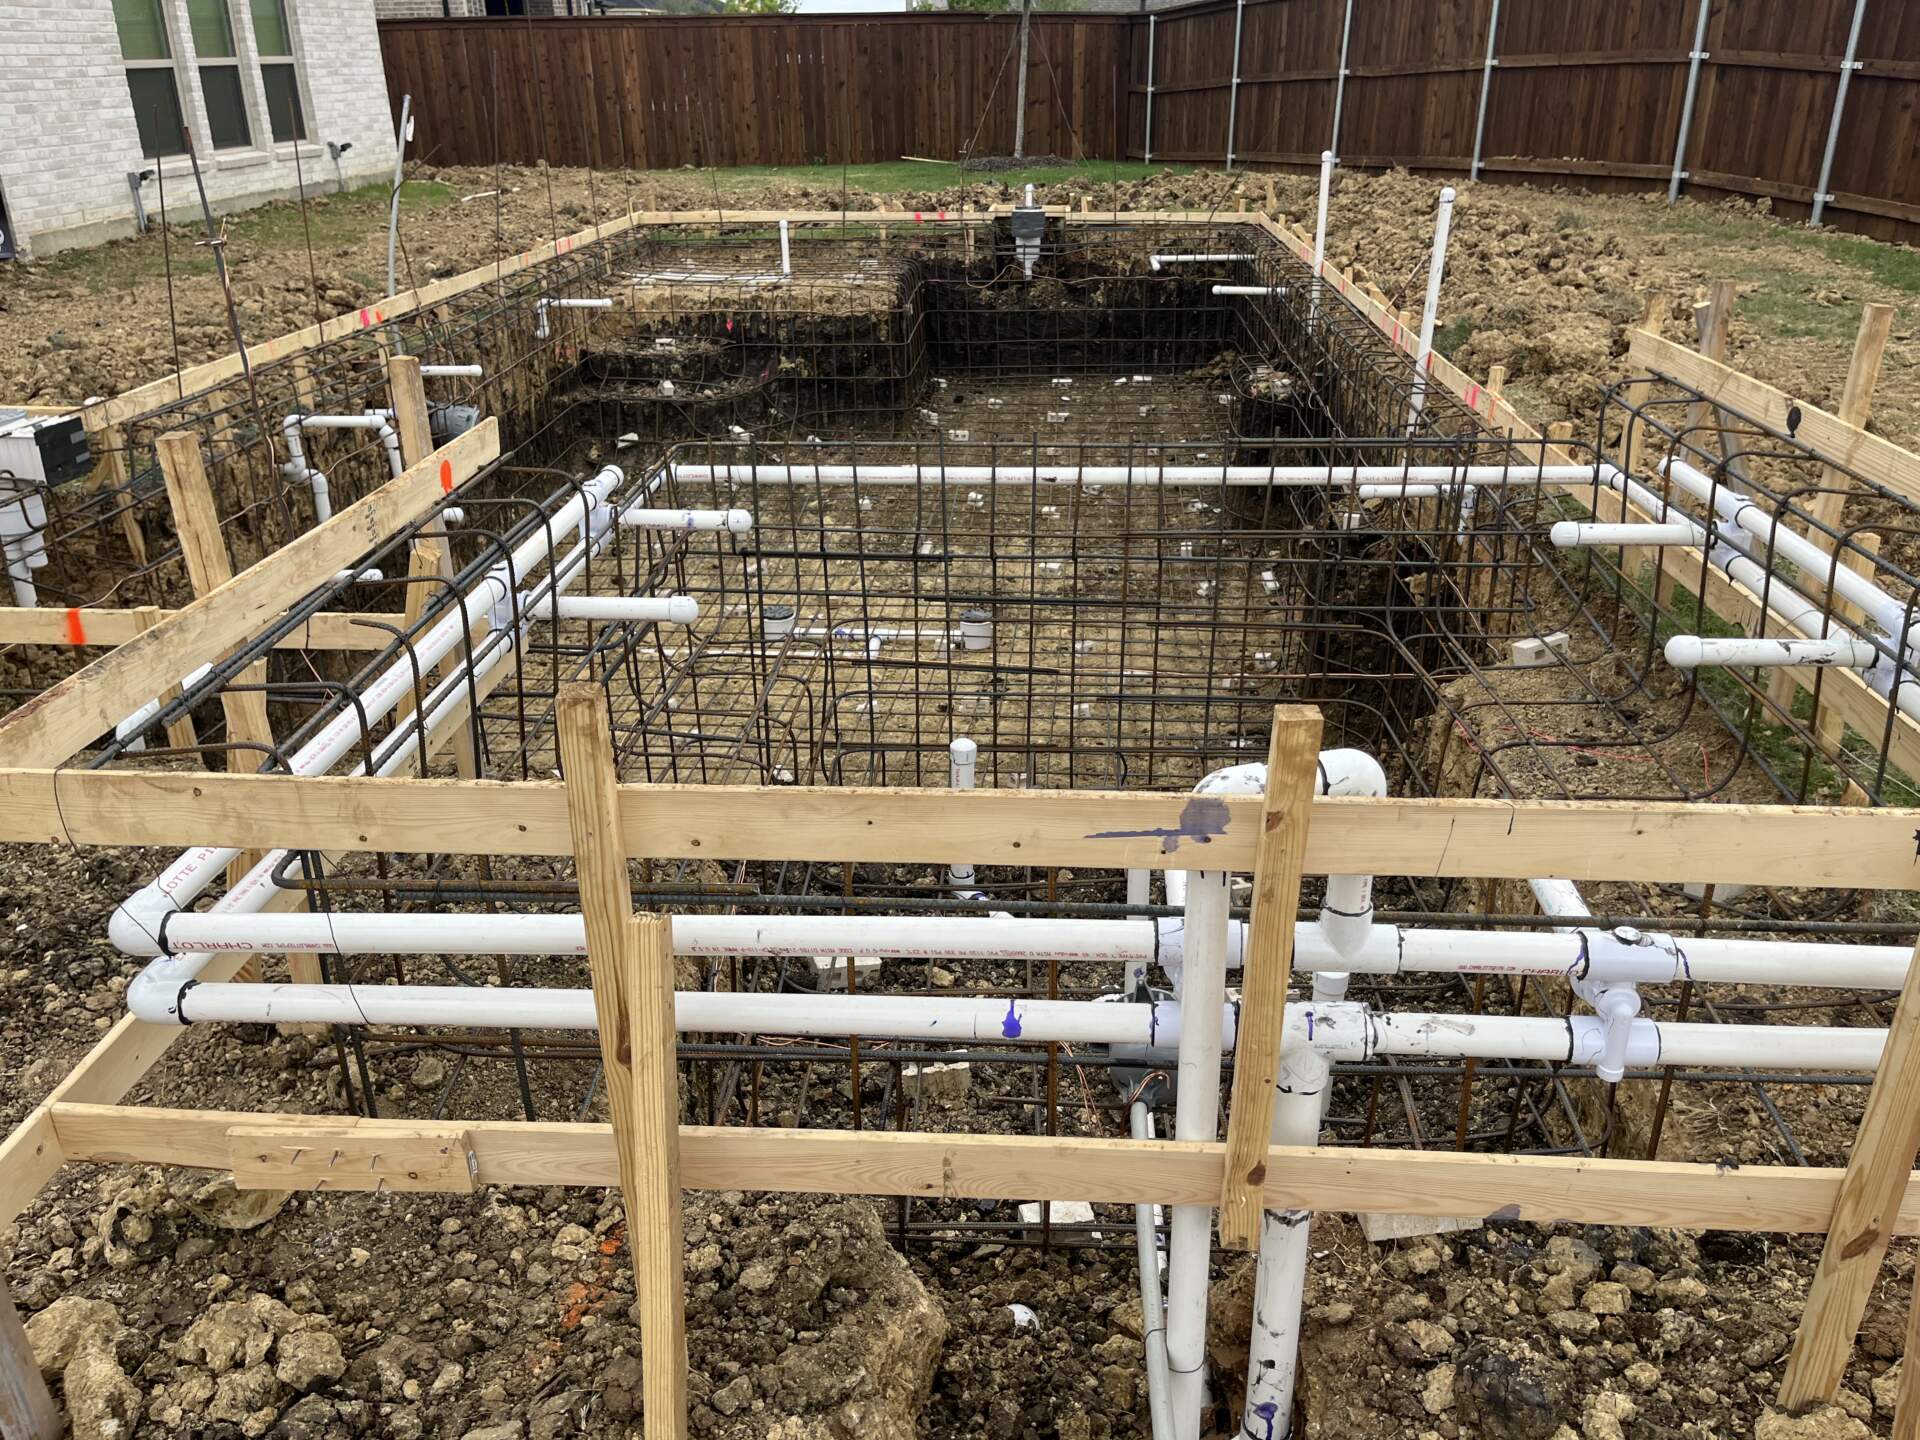
After excavation, a steel rebar grid is installed throughout the shell of the pool. This forms the structural skeleton that will later be encased in gunite or shotcrete.
This includes:
-
Horizontal and vertical bars around the pool walls and floor
-
Tie-ins for benches, spas, or ledges
-
U-shaped bars for added support around curves or transitions
The steel must be spaced and tied properly to meet engineering specifications. Before the next step, the city inspector usually performs a structural inspection to verify compliance.
8. Plumbing and Electrical Rough-In
Next, the plumbing and electrical systems are installed. This includes:
-
Main drains, return lines, skimmers, and suction lines
-
Gas lines for heaters or fire features
-
Electrical conduits for pumps, lighting, automation, and spa controls
-
Bonding wires for electrical safety
It is essential to install these systems before spraying the concrete shell. Everything must pass inspection before continuing.
In Fort Worth, code requires licensed tradesmen for all utility work. Builders familiar with local codes will arrange the appropriate inspections and approvals during this stage.

9. Gunite or Shotcrete Application
The concrete shell of the pool is sprayed in place using a high-pressure hose. Gunite and shotcrete are both dry-mix and wet-mix versions of pneumatically applied concrete, and both are common in Texas.
The shell is built up layer by layer to form the walls, floor, steps, spa seats, and other elements. Once sprayed, the concrete must be kept moist for several days to ensure proper curing. During this period, homeowners are usually instructed to water the shell multiple times daily.
This curing process helps reduce the risk of shrinkage cracks and structural weakness later on.
10. Tile, Coping, and Water Feature Installation
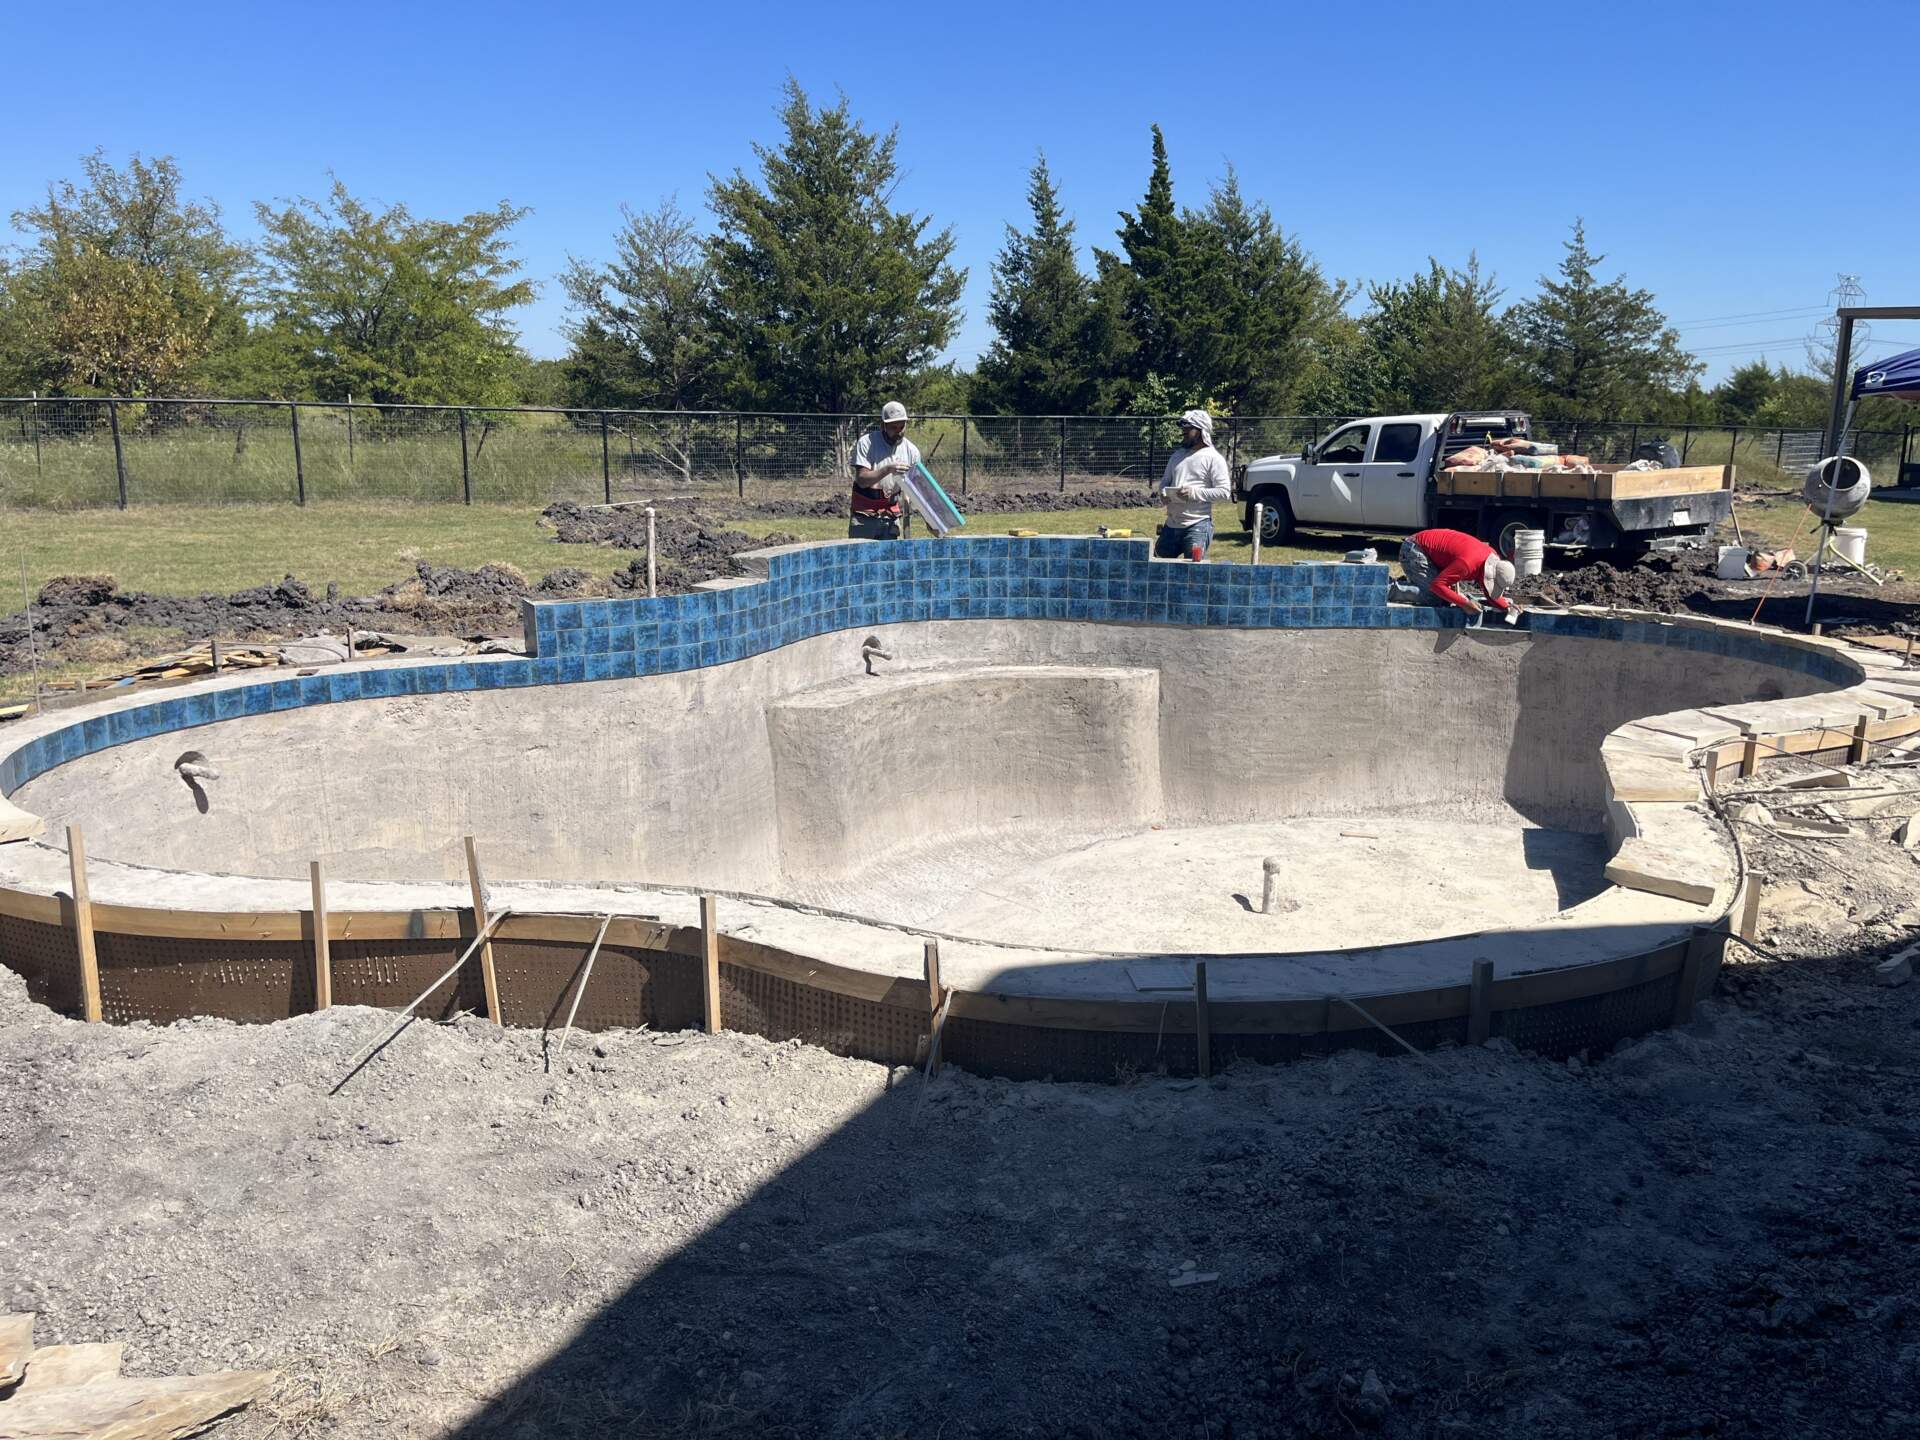
Once the shell has cured, decorative finishes are applied. This includes:
-
Tile bands along the waterline
-
Coping stones or concrete caps around the pool perimeter
-
Waterfall boulders, sheer descents, or scuppers
-
Spa spillovers and retaining wall finishes
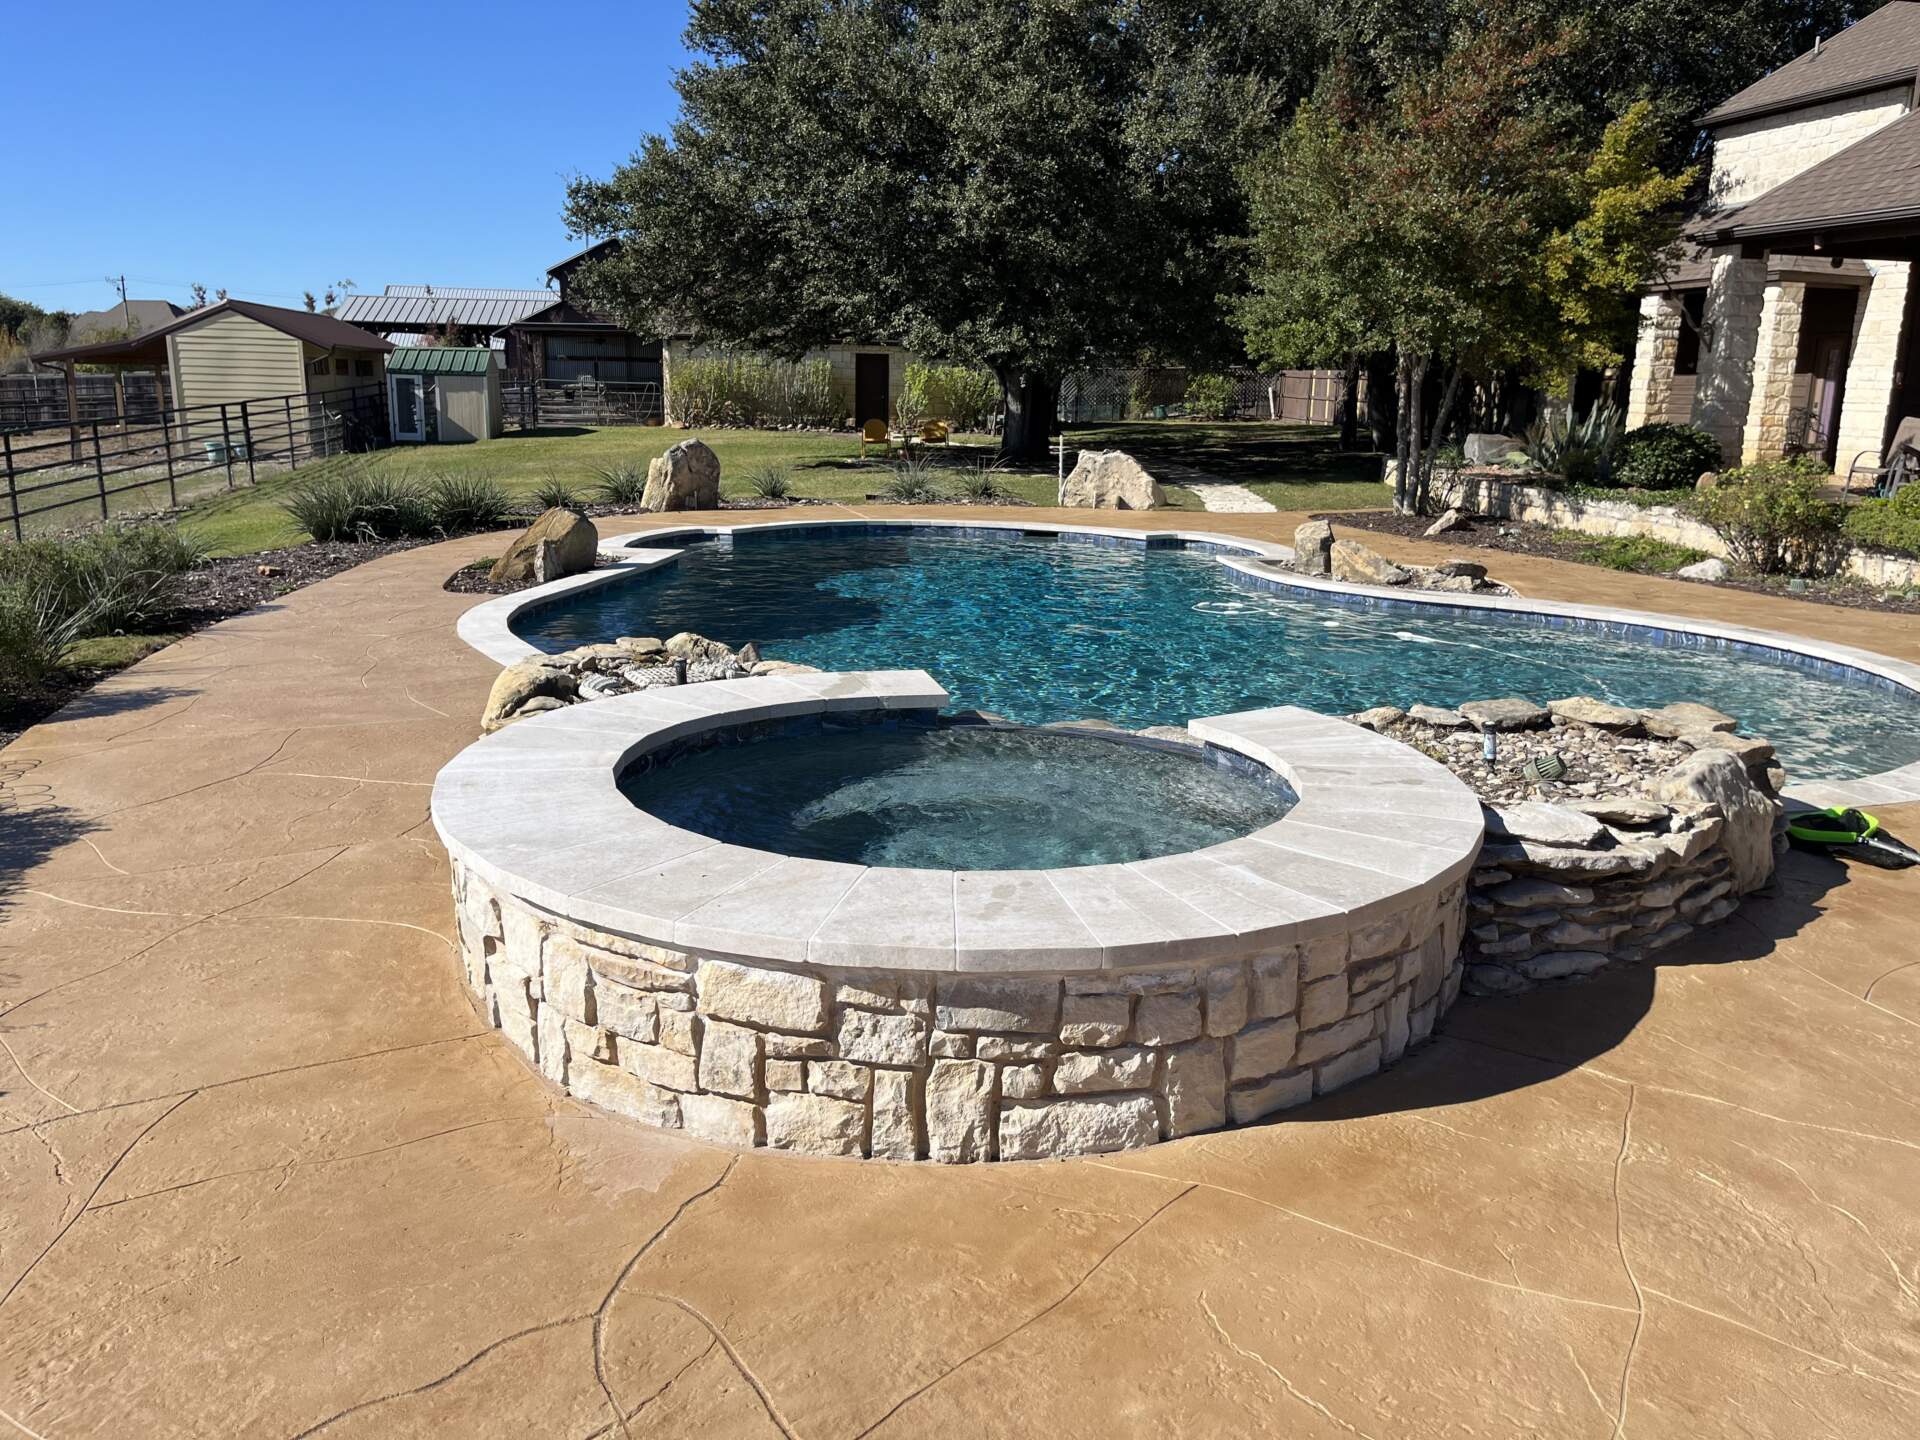
Materials are chosen for both aesthetics and durability. In Fort Worth, where the summer sun is strong, many builders recommend heat-resistant stone or travertine coping to keep surfaces cooler to the touch.
This phase also includes the installation of custom elements like fire bowls, deck jets, and LED light fixtures.
11. Decking and Hardscaping
Decking is built around the pool using your selected material. Options include:
-
Poured concrete with broom or salt finish
-
Stamped and stained concrete for decorative effects
-
Pavers or natural stone like travertine
-
Composite or wood for raised decks
In Fort Worth’s climate, it is essential to choose decking that resists heat buildup and handles thermal expansion without cracking. Expansion joints are typically cut to reduce stress on large deck slabs.
This phase may also include:
-
Outdoor kitchens or built-in grills
-
Pergolas or patio covers
-
Walkways or garden beds

12. Interior Finish
The pool’s final surface is applied just before filling it with water. Options include:
-
White or colored plaster
-
Pebble aggregate for a textured look
-
Polished quartz for added shimmer and durability
Finish choices affect the color and clarity of the water. In Fort Worth, many pool owners choose lighter finishes to help maintain lower water temperatures and improve visibility.
Once applied, the finish is allowed to cure before the pool is filled. Some materials require a startup process that includes brushing and chemical balancing for several days.
13. System Startup and Water Chemistry
With the finish cured, the pool is filled and the equipment is activated. This includes:
-
Starting circulation and filtration systems
-
Testing pump flow and heating functions
-
Verifying automation controls and lighting
-
Balancing water chemistry with proper pH, chlorine, alkalinity, and calcium levels
Some builders include a startup technician or pool school session to show the homeowner how to manage the system, clean filters, and maintain the chemical balance long-term.
14. Final Inspection and Handover
The city performs one final inspection to verify electrical, plumbing, and safety features like fencing or alarms. Once approved, the contractor formally hands off the pool.
Homeowners receive:
-
Warranty documentation
-
Startup and maintenance instructions
-
Equipment manuals and control panel guides
At this point, the pool is ready for use. Any punch list items such as landscape touch-ups or minor adjustments are completed before project closure.

Built Right for Texas Summers
A custom pool installation in Fort Worth is more than just a backyard project. It is an investment in your comfort, your property value, and your ability to enjoy the outdoors year-round. With expansive clay soils, strong sun exposure, and neighborhood-specific design regulations, every detail matters from the first sketch to the final fill.
At Aquaworx Pool Co, we specialize in designing and building beautiful, high-quality pools that blend perfectly with your outdoor space. Our team understands the unique conditions across Fort Worth and nearby communities like Aledo, Keller, Southlake, and Weatherford. From structural engineering to custom features and finishes, we deliver craftsmanship you can rely on and results that speak for themselves.
If you’re ready to transform your backyard into something extraordinary, reach out to Aquaworx Pool Co today to start planning your custom pool.

